
Lightning McQueen Birthday Cake
Adapted from America's Test Kitchen Family Cookbook and the Wilton community forums.
Servings 28
Calories 316kcal
Equipment
- 2 or 3 (9x13-inch) cake pans, lightly coated with cooking spray and lined with parchment in the bottom
- stand mixer with paddle attachment
- medium bowl
- wire racks
- serrated bread knife
- paring knife
- 4 small bowls
- toothpicks (for dipping the gel colors)
- popsicle sticks (for stirring the colored frosting)
- food service gloves (optional), helps keep your hands color free
- large microwave safe bowl OR 3-quart pot
- silicone spatula
- rolling pin
- toothpick (for dipping the gel color)
- X-Acto craft knife (for cutting the fondant)
- plastic drinking straws
- cake plate
- plastic lids about the same size as the donuts
- pastry brush
- 4 (1-quart) freezer bags
- decorating tips (five #3 and two #12) and couplers
- angled spatula, for spreading frosting
Ingredients
Yellow Cake (Make two or three batches, one batch for each layer.)
- 2¾ cups cake flour
- 2½ teaspoons baking powder
- ¾ teaspoon salt
- 8 ounces unsalted butter softened
- 1¾ cup granulated sugar
- 4 large eggs at room temperature
- 1 tablespoon vanilla extract
- 1½ cups whole milk at room temperature
Buttercream Frosting (Make two or three batches, one for each layer.)
- 2 tablespoons heavy cream
- 1 teaspoon vanilla extract
- pinch salt
- 10 ounces unsalted butter softened
- 2½ cups confectioners sugar
- Wilton No-Taste Red gel color 2 bottles
- Wilton Orange gel color
- Wilton Sky Blue gel color
- Wilton Black gel color
Marshmallow Fondant
- 1 cup mini marshmallows packed well
- 1 tablespoon water
- 1½ cup confectioners sugar up to 1¾ cup
- Wilton Brown gel color
Additional Ingredients
- 4 chocolate covered donuts medium to large for a 3-layer cake, minis for a 2-layer cake *We used Entenmann's Donuts because they have the chocolate donuts in two sizes.
- 3 graham cracker halves
Instructions
Cake
- Preheat oven to 350° F.
- Stir together the cake flour, baking powder, and salt in the medium bowl and set aside.
- In the bowl of the stand mixer, beat together the sugar and butter until it is light and fluffy, about 6 minutes. Add each egg one at a time and beat in. Scrape down the sides of the bowl as you go. Beat in the vanilla extract.
- Add ⅓ of the flour mixture, beating on low speed. Add ½ of the milk and beat in. Add half of the remaining flour mixture, beating in, then the remaining milk. Finally add the remaining flour mixture and beat in.
- Use a rubber spatula to scrape down the sides of the bowl and stir into the batter. Pour into the prepared pan and bake until a toothpick comes out clean, about 25 to 30 minutes.
- Remove from the oven and allow cake to rest in pan for about 10 minutes, sitting on a wire rack. Run a plastic knife around the edges, then turn the cake out onto the wire rack and then turn it back over upright. Allow to cool completely, about 1 to 2 hours.
- Tips
- I made each cake one at a time and baked them as soon as they were mixed so that the batter did not deflate, which it tends to do if the batter sits for too long before baking.
- Set the eggs, butter, and milk out about 30 minutes before mixing so that they have time to come to room temperature.
Buttercream Frosting
- In a small bowl, stir together the heavy cream, vanilla extract, and the salt.
- In the bowl of the stand mixer, beat the butter on medium-high speed until it's smooth, just about 1 minute.
- Reduce speed to low and slowly add the confectioners sugar, about ½ cup at a time. Beat until smooth, about 5 minutes.
- Add the cream mixture and beat on medium-high until the frosting is light and fluffy. ATK says about 4 to 8 minutes, it took about 8 minutes for me.
- RED Frosting: Put 5-½ cups of the plain frosting in the medium bowl. (Adjust the amount based on the number of layers, about 1-¾ cups per layer.) Using toothpicks and popsicle sticks, start adding the No-Taste Red gel coloring a little at a time, stirring as you go until you have a deep bright red. By the time we were done, we had used two bottles of color. This only makes enough red frosting to cover the outside of the cake. If you want red frosting in between the cake layers, you'll need to add another cup or two, one for each frosting layer.
- ORANGE Frosting: Put ¼ cup of the plain frosting in a small bowl. Using toothpicks and popsicle sticks, add the orange gel coloring a little at a time, stirring as you go until you have the desired color.
- BLUE Frosting: Put 1-½ cups of the plain frosting in a small bowl. Using toothpicks and popsicle sticks, add the Sky Blue gel coloring a little at a time, stirring as you go until you have the desired color.
- BLACK Frosting: Put ¼ cup of the plain frosting in a small bowl. Using toothpicks and popsicle sticks, add the Black gel coloring a little at a time, stirring as you go until you have a deep black.
- You will have some white frosting left over. We used it in between the cake layers as well as in places where a little "frosting glue" was needed.
- Tips
- Some of the measurements for coloring the frosting are approximated because we started off making just two batches of the frosting then had to make another when we ran out. We tried to over estimate because it's better to have a little extra (which tastes really good with graham crackers) than not enough.
Marshmallow Fondant
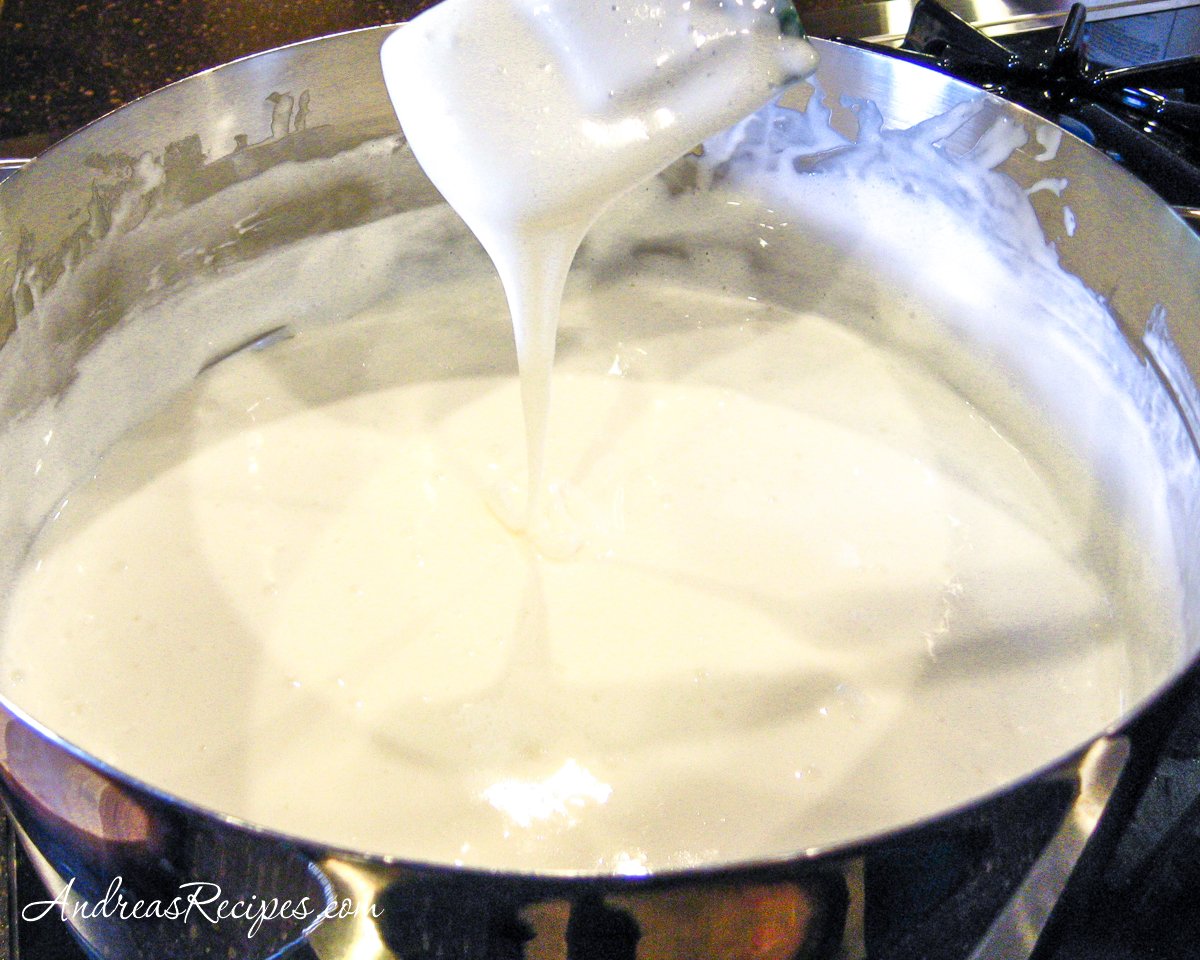
- Put the mini marshmallows in the microwave safe bowl and add the water. Cook in the microwave for 20 seconds, just until they soften and look puffy. If you prefer to do it on the stove, put the marshmallows in a 3-quart pot and add the water. Cook and stir over medium-low heat until the marshmallows look soupy.

- Add the confectioners sugar and stir using the silicone spatula until the mixture is fully incorporated and no longer sticky. It will get stiff.
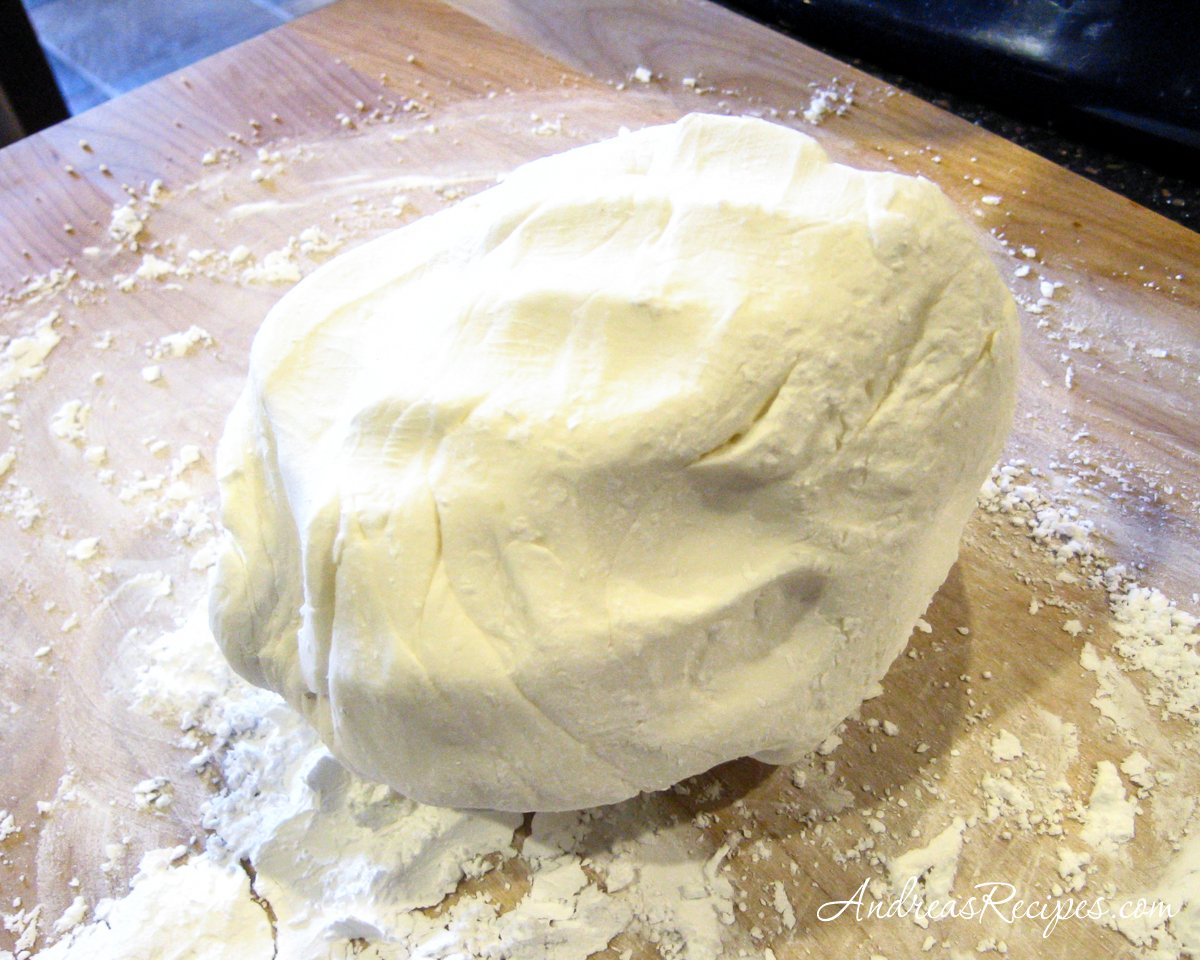
- Sprinkle more confectioners sugar on a work surface and spoon the marshmallow mixture onto the surface. Coat your hands with confectioners sugar and knead the dough until it is smooth, about 5 minutes.

- BROWN: Cut off about ¼ cup of the fondant and mash it with your hands. Add Wilton Brown gel color a little at a time and knead it in with your hands. The color will look streaked at first, then will become more consistent as you work it.
- WHITE: Set aside the remaining fondant for another use.
- If you make the fondant a day or more ahead, roll the pieces into balls and wrap each piece tightly in plastic wrap and store in zip plastic bags to keep it fresh. Do not refrigerate. If it's well-wrapped, this marshmallow fondant will keep at room temperature for up to 3 months.
Assembly
- CAKES: Level the top of the cakes as necessary using a serrated bread knife.
- Place the one cake on your cake plate, cut side down. Spread a layer of white frosting on top. Add another layer, cut side down. (Spread another layer of white frosting on top if you are doing a 3-layer cake, then add the top layer.)
- Using the serrated knife, cut away parts of the cake to shape it. Carve the top to make the windows. Cut the front at a downward angle. Cut the back in a shape that angles up from the windows toward the back fin (air dam). The back side has a bit of curve from the top middle down towards the wheels. Make sure all of the corners are rounded.

- Place the plastic lids around the cake where the wheels will go. Use the serrated knife to cut around the lids, cutting in just enough that the donuts will be recessed, about half the thickness of the donut. Dig out the remaining cake with a paring knife. On the front of the cake, cut out the mouth shape.
- Use the pastry brush to brush away the crumbs all over the cake.
- Use some of the leftover white frosting to glue the graham cracker halves to the back of the car. The crackers should stand up about 1 inch above the top.
- FROSTING: Using the red frosting, spread a thin crumb layer all over the top, sides, front, back, and the crackers. Let the layer rest for a few minutes, then add the final layer which should be about ¼-inch thick.

- Put the donuts in place, positioning them so that they stick out about half way.
- Spread the blue frosting on windows all the way around. The blue layer in the windshield is the glue for the white fondant.
- Prep one of the plastic bags by attaching a #3 decorating tip. Add some white frosting to the bag. Roll and cut the white fondant using the X-Acto knife and the plastic drinking straws (for cutting the little dots). You'll need a windshield shape, a round medallion for the top, a mouth, 4 detail dots for the hood, 2 rectangular shapes for the hood, 2 half ovals for the doors, and 4 larger dots for exhaust pipes under the doors. Use piped frosting to glue the fondant in place.
- Prep another plastic bag by attaching a #3 decorating tip. Add some red frosting to the bag. Pipe the red around the windows along all of the edges, and with three stripes running down the back window.

- Glue the round piece of brown fondant on the hood. Prep another plastic bag by attaching a #3 decorating tip. Add some orange frosting to the bag. On a piece of wax paper, practice piping the word Rusteeze, then when you are ready, pipe it onto the decal. Pipe the lightening bolts on the lalf-oval white fondant pieces on the doors.
- Prep another plastic bag by attaching a #12 decorating tip. Add some blue frosting to the bag. Pipe two circles for the eyes.
- Prep another plastic bag by attaching a #3 decorating tip. Add some black frosting to the bag. Pipe two black dots on the eyes. Pipe two white dots onto the eyes.
- Glue the round piece of white fondant on the top of the car. Using the black frosting bag, pipe a number 95 on it.
- Prep another plastic bag by attaching a #3 decorating tip. Add some blue frosting to the bag. Pipe five straight lines going down the back of the air dam.

- Prep another plastic bag by attaching a #12 decorating tip. Add some red frosting to the bag. Pipe some frosting into the center of the donuts for the wheel axles.


Nutrition
Calories: 316kcal | Carbohydrates: 40g | Protein: 3g | Fat: 16g | Saturated Fat: 10g | Cholesterol: 65mg | Sodium: 85mg | Potassium: 80mg | Fiber: 1g | Sugar: 30g | Vitamin A: 526IU | Calcium: 41mg | Iron: 1mg